Unlocking Culinary Excellence: Your Guide to Homemade Flaky Salt in the Oven
Imagine sprinkling a delicate, crunchy burst of pure sea essence over your perfectly seared steak, a vibrant roasted vegetable medley, or even a decadent chocolate dessert. That's the magic of flaky salt – a gourmet finishing touch that elevates ordinary dishes to extraordinary. While store-bought options like Maldon salt are readily available, there's immense satisfaction and surprising ease in learning how to make flaky salt right in your own kitchen. This comprehensive guide will walk you through an simple oven method, transforming humble salt and water into exquisite, delicate flakes that rival the finest artisan varieties. Flaky salt, often referred to as 'finishing salt' or 'fleur de sel' (flower of salt), stands apart from its granular cousins. Its unique pyramid-like structure and airy texture are a direct result of a patient, controlled crystallization process. Unlike the dense crystals of table salt, flaky salt dissolves slowly, delivering a delightful crunch and a clean burst of saline flavor that invigorates the palate. Historically, the production of such prized salt dates back to ancient times, with early methods relying on natural evaporation under the sun. Today, we can harness the consistent, gentle heat of our ovens to replicate these conditions, offering a reliable path to crafting your own high-quality finishing flakes. It’s an easy project that brings a touch of gourmet flair to any home cook's pantry.The Art and Science Behind the Flake
At its heart, making flaky salt is a beautiful dance between chemistry and patience. The process hinges on the principles of evaporation and supersaturation. When salt is dissolved in water, it forms a brine solution. As this water slowly evaporates, the concentration of salt in the remaining solution increases until it reaches a point where the water can no longer hold all the dissolved salt. At this critical juncture, salt molecules begin to precipitate out of the solution, forming crystals. The key to achieving *flaky* crystals, rather than dense cubes, lies in *slow* and *controlled* evaporation, typically at a lower temperature. This allows the salt crystals to form gently on the surface of the brine, growing outwards and downwards into their characteristic delicate, hollow pyramid shapes. Rapid evaporation, conversely, tends to produce smaller, more compact crystals. Understanding this fundamental principle is your first step to mastering the art of homemade flaky salt.Gathering Your Essentials: Ingredients & Equipment
One of the most appealing aspects of making flaky salt at home is the minimal investment required. You likely already have most of what you need. Ingredients:- Good Quality Salt: While any non-iodized salt can work, starting with a high-quality sea salt (like kosher salt or a coarse sea salt) will generally yield better results in terms of flavor and purity. Avoid iodized table salt, as the anti-caking agents and iodine can interfere with crystal formation and flavor.
- Distilled Water (Recommended): Using distilled or filtered water minimizes impurities that could affect the taste or clarity of your salt flakes. Tap water can work, but depending on its mineral content, it might introduce unwanted flavors or residues.
- Optional Flavorings: Get creative! Dried herbs (rosemary, thyme), citrus zest (lemon, orange), spices (chili flakes, smoked paprika), or even finely ground garlic or onion powder can be infused into your brine for unique gourmet salts.
- Shallow Oven-Safe Pan(s): This is crucial. A large surface area allows for efficient evaporation and ample space for flakes to form. Think baking sheets, ceramic lasagna dishes, or even large cast iron skillets (ensure it's well-seasoned to prevent rust if used with salt water). The shallower, the better.
- Large Pot or Bowl: For mixing your brine solution.
- Measuring Cups and Spoons: For accurate brine ratios.
- Stirring Utensil: A wooden spoon or spatula.
- Fine Mesh Skimmer or Slotted Spoon: For removing impurities and harvesting flakes.
- Oven: Your primary tool for gentle, controlled heat.
- Airtight Container: For storing your finished flaky salt.
Step-by-Step Guide: How to Make Flaky Salt in Your Oven
Making beautiful, crunchy flakes is a straightforward process that simply asks for your attention and a bit of time. Here’s the secret to perfect flaky salt using your oven.1. Prepare Your Brine Solution
The foundation of your flaky salt is a highly concentrated salt solution, or brine. The general rule of thumb is a 1:2 ratio of salt to water. This means for every 1 cup of salt, you'll use 2 cups of water. You can adjust this slightly based on your desired concentration, but this ratio provides a good starting point for achieving supersaturation.To begin:
- In a large pot, combine your chosen salt and water. For example, if you're using 2 cups of salt, add 4 cups of water.
- Heat the mixture gently over medium heat, stirring continuously until all the salt is completely dissolved. Do not let it boil vigorously. The goal is to dissolve the salt, not to evaporate the water at this stage. Aim for a temperature around 180°F (82°C), which helps in efficient dissolution and crystal nucleation later.
- For Flavor Infusions: If you're creating a flavored salt, this is the time to add your herbs, citrus zest, or spices to the hot brine. Allow them to steep for 15-30 minutes off the heat, then strain them out before proceeding to ensure a clean final product.
2. The Oven Method: Evaporation and Crystal Formation
This is where the magic happens, transforming your brine into beautiful flakes.- Pour the Brine: Carefully pour your hot, dissolved brine solution into your shallow, oven-safe pan(s). Distribute it evenly, ensuring the liquid layer is relatively thin (ideally no more than 1/2 inch deep). A thinner layer means faster evaporation and less time in the oven.
- Set Your Oven: Preheat your oven to its absolute lowest setting. This is typically between 170°F and 200°F (75°C to 93°C). The goal is gentle, consistent heat that encourages slow evaporation without boiling the solution aggressively. If your oven goes lower than 170°F, even better!
- Slow Evaporation: Place the pan(s) into the preheated oven. Leave the oven door slightly ajar (a wooden spoon can help prop it open) to allow steam to escape and promote continuous evaporation. This also helps keep the internal temperature from climbing too high.
- Monitor and Stir Gently: As the water evaporates, you'll start to see tiny salt crystals forming on the surface of the liquid. This can take several hours, sometimes even overnight. Periodically, *very gently* stir the surface of the brine with a spoon or spatula. This helps to dislodge nascent crystals, encourages new ones to form, and prevents a thick crust from forming too quickly. It also helps to skim off any impurities that might rise to the surface.
3. Harvesting Your Flakes
Patience is paramount in this final stage. The entire process of evaporation and crystal formation can take anywhere from 8 hours to 24 hours or even longer, depending on your oven temperature, pan size, and the initial volume of brine.You’ll know your salt is ready when:
- The majority of the water has evaporated.
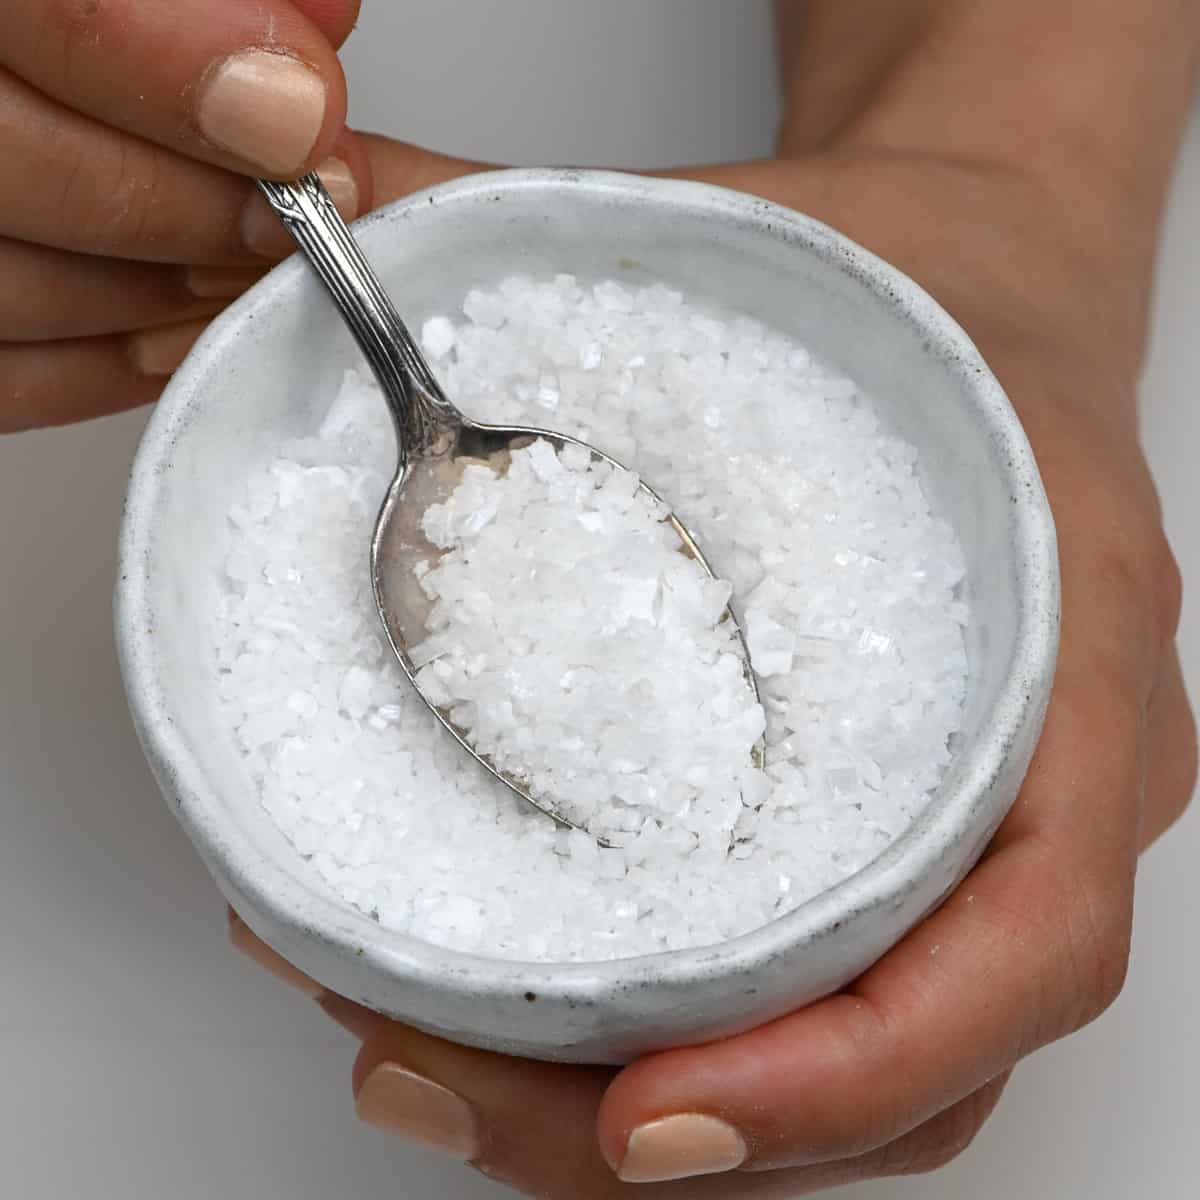
- Delicate, translucent flakes have formed on the surface and perhaps sunk to the bottom.
- The brine solution is almost completely gone, leaving a bed of salt flakes.
To harvest:
- Carefully remove the pan from the oven.
- Allow the flakes to cool completely.
- Using a clean spatula or spoon, gently scrape the flakes from the bottom and sides of the pan. They should detach easily.
- Transfer the flakes to a wire rack lined with parchment paper or a clean kitchen towel to air dry for a few more hours, or even overnight. This ensures any residual moisture evaporates, preventing clumping and preserving their crispness.
- Once thoroughly dry, gently break apart any larger clusters into your desired flake size.
Tips for Achieving Perfect Flakes Every Time
Crafting perfect flaky salt involves a bit of observation and fine-tuning. Here are some expert tips to guide you:
- Consistency is Key: Maintain a consistent low temperature in your oven. Fluctuations can lead to uneven crystal growth.
- Don't Rush It: Resist the urge to crank up the heat to speed things up. Slow evaporation is the secret to those coveted delicate flakes. A higher temperature will likely result in dense, smaller crystals or even cause the brine to boil over.
- Shallow Pans Reign Supreme: The more surface area exposed to the air, the faster and more efficiently evaporation occurs, and the more room your beautiful flakes have to form. Unlock crispy texture: crafting flaky salt at home with an oven truly depends on this fundamental principle.
- Experiment with Brine Ratios: While 1:2 is a great starting point, some home salt makers find that a slightly higher salt concentration (e.g., 1:1.5 salt to water) can encourage faster flake formation, while a slightly lower concentration might yield larger, more delicate flakes over a longer period. Document your experiments!
- Scrape Gently: When stirring or skimming, be incredibly gentle. You don't want to break up the delicate nascent flakes. The goal is to encourage formation, not disruption.
- Flavor Infusion Post-Harvest: For certain flavorings, like very delicate herbs or fresh zest, you might consider infusing them into the *finished* dry flakes. Simply combine the dry salt flakes with your chosen flavoring and let them sit in an airtight container for a few days to allow the flavors to meld. This prevents volatile compounds from evaporating during the heating process.
Creative Uses for Your Homemade Flaky Salt
Now that you've mastered how to make flaky salt, it's time to put your culinary creation to good use! Flaky salt isn't just a seasoning; it's a textural and flavor enhancer.- Finishing Meats: Sprinkle over grilled steaks, roasted chicken, or pan-seared fish just before serving for an incredible burst of flavor and crunch.
- Elevating Vegetables: Roasted asparagus, grilled corn, baked potatoes, or even a simple fresh salad benefit immensely from a pinch of flaky salt.
- Sweet and Salty Desserts: A sprinkle over chocolate chip cookies, caramel sauce, brownies, or even a scoop of ice cream can be absolutely divine.
- Bread and Dips: Perfect on fresh focaccia, sourdough, or even a simple slice of buttered toast. It also adds a professional touch to homemade dips like hummus or guacamole.
- Rim for Cocktails: Use it to rim margarita glasses or other savory cocktails for an elevated experience.
