Unlock Crispy Texture: Crafting Flaky Salt at Home with an Oven
There's a special kind of magic in a sprinkle of flaky salt. Those delicate, shimmering crystals, with their satisfying crunch and burst of pure, mineral flavor, elevate everything from a perfectly seared steak to a decadent chocolate chip cookie. If you've ever admired the gourmet touch of artisanal finishing salts like Fleur de Sel or Maldon and wondered how to make flaky salt yourself, you're in for a delightful surprise. The process, far from being an ancient secret, is a patient art that can be mastered in your own kitchen using a common appliance: the oven.
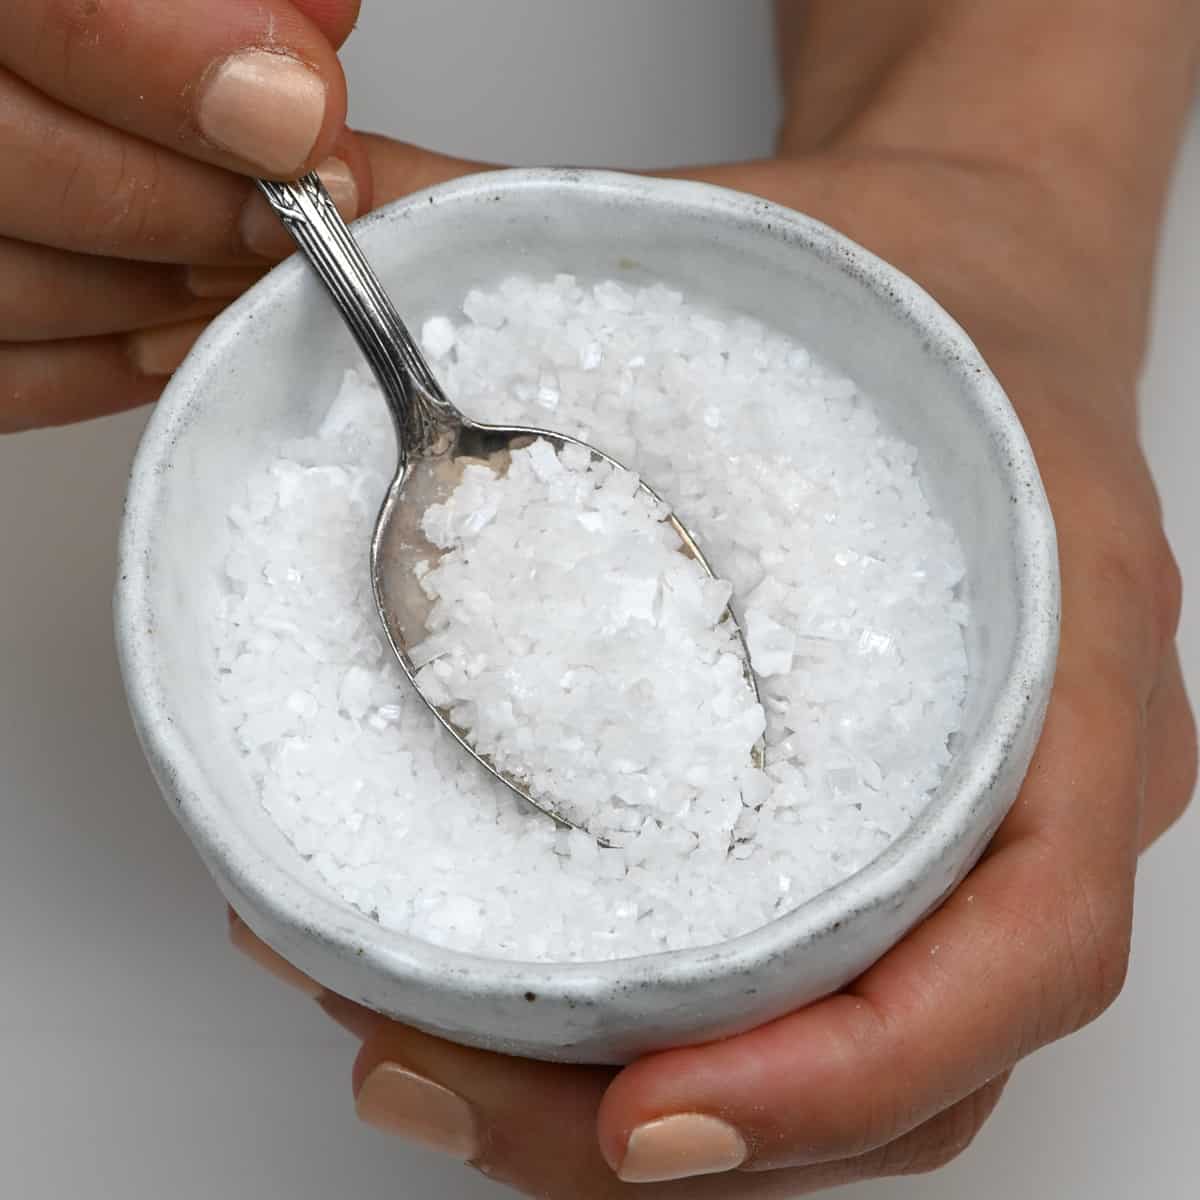
Unlike regular table salt, which is typically uniform and dense, flaky salt boasts an irregular, airy structure. This unique texture comes from a controlled evaporation process, allowing salt crystals to form slowly and gently on the surface of a concentrated brine. Historically, this was a luxury item, harvested from sun-drenched salt pans. Today, we can replicate these conditions on a smaller, more accessible scale. This comprehensive guide will walk you through everything you need to know, from the science behind the flakes to practical tips for achieving perfection.
The Allure of Flaky Salt: More Than Just a Seasoning
What makes flaky salt so indispensable in the culinary world? It boils down to two primary characteristics: texture and flavor delivery. Its delicate structure provides an unparalleled crunch that invigorates the palate, offering a textural contrast that simply can't be matched by fine-grained salts. Imagine biting into a juicy roasted vegetable, only to be met with a delightful pop of salty goodness that dissolves gracefully on the tongue. This isn't just about making food saltier; it's about enhancing the entire eating experience.
Furthermore, flaky salt acts as a finishing touch, designed to be sprinkled on food just before serving. Because it dissolves slowly, it delivers a more sustained burst of flavor compared to other salts. This makes it ideal for enhancing the natural tastes of ingredients without overpowering them. From garnishing rich dark chocolate desserts to bringing out the best in grilled meats, fresh salads, or even avocado toast, the versatility of flaky salt is boundless. It's a testament to the power of a simple ingredient, transformed into something truly extraordinary.
Understanding the Science: How Flakes Form
The core principle behind crafting flaky salt is deceptively simple: controlled evaporation of a super-saturated salt solution, known as brine. When salt is dissolved in water, it forms a homogeneous solution. As the water slowly evaporates, the salt molecules begin to recrystallize. The magic lies in encouraging these crystals to form on the surface, growing into delicate, pyramid-like or irregular flakes rather than dense, cubic granules.
Several factors play a crucial role in this transformation. Heat accelerates evaporation, but too much heat can lead to rapid crystallization, resulting in smaller, denser grains. A low, consistent heat source, like a conventional oven set to its lowest temperature, provides the gentle warmth needed for slow, deliberate crystallization. Humidity also plays a role; in drier environments, evaporation occurs more readily. However, the enclosed environment of an oven helps to create a stable microclimate, even as water vapor escapes. Patience is perhaps the most critical ingredient here, allowing the crystals ample time to grow and coalesce into those coveted flakes. By understanding this delicate balance, we can manipulate conditions to encourage the formation of beautiful, crunchy salt flakes.
Your DIY Flaky Salt Kitchen Lab: Step-by-Step Guide
Ready to embark on your flaky salt-making journey? Here’s a detailed guide to setting up your kitchen lab and transforming humble salt and water into a gourmet seasoning.
Essential Ingredients and Equipment
- Salt: Choose a high-quality, non-iodized salt. Fine sea salt, kosher salt, or even table salt (ensure it's non-iodized) will work. The purer the salt, the better your results.
- Water: Filtered or distilled water is recommended to avoid any impurities or minerals that could affect the final flavor or appearance of your flakes.
- Shallow Oven-Safe Pan: This is crucial. A baking sheet with a rim, a glass casserole dish, or even a wide, shallow ceramic dish will work perfectly. The larger the surface area, the more flakes you can produce.
- Measuring Cups/Spoons: For accurate brine ratios.
- Spatula or Spoon: For gentle stirring and skimming.
- Oven Thermometer (Optional but Recommended): To ensure your oven maintains a consistent, low temperature.
- Fine-Mesh Sieve or Colander: For draining excess water and separating the flakes.
- Airtight Container: For storing your finished flaky salt.
Crafting Your Brine Solution
The foundation of your flaky salt is the brine. This concentrated saltwater solution is where the magic begins.
- Ratio Matters: A common starting point is a 1:2 ratio of salt to water (e.g., 1 cup salt to 2 cups water). You can experiment with slightly higher salt concentrations (e.g., 1:1.5) for quicker crystallization, but ensure the salt fully dissolves.
- Dissolve Thoroughly: In a saucepan, combine your chosen salt and water. Heat gently over low to medium heat, stirring continuously until the salt is completely dissolved. Do not boil vigorously; a gentle simmer is sufficient. The goal is to create a super-saturated solution without unnecessary evaporation at this stage.
- Cool Slightly: Once dissolved, remove the brine from the heat and allow it to cool for a few minutes.
For more insights into different brine types and their impact on your final product, you might find The Secret to Perfect Flaky Salt: Oven Method & Brine Basics a valuable resource.
The Oven Method: Patience is Key
This is where the transformation from brine to flakes truly happens.
- Preheat Your Oven: Set your oven to its absolute lowest temperature, typically between 170°F and 200°F (75°C to 95°C). The key is slow, gentle heat.
- Pour the Brine: Carefully pour your cooled brine solution into your shallow, oven-safe pan. Aim for a depth of about 0.5 to 1 inch. This shallow depth maximizes the surface area for crystal formation.
- Slow Evaporation Begins: Place the pan in the preheated oven. Now, the waiting game begins. This process can take anywhere from several hours to a full day, or even longer, depending on your oven's temperature consistency, the brine concentration, and the pan's surface area.
- Monitor and Maintain: Check on your brine periodically. As the water evaporates, you'll start to see tiny crystals forming on the surface. These will gradually grow into larger flakes.
- Gentle Stirring and Skimming: Every few hours, gently stir the solution with a spatula or spoon. This prevents a thick crust from forming too quickly and encourages the development of larger, more distinct flakes. You might also notice impurities or a film forming on the surface; gently skim these off to ensure pure, white flakes.
- Harvesting the Flakes: When most of the water has evaporated and you have a substantial layer of salt flakes, carefully remove the pan from the oven. The flakes will likely be suspended in a small amount of residual brine. You can gently scrape them off the bottom of the pan or carefully pour the entire contents through a fine-mesh sieve.
- Final Drying: Spread your harvested flakes on a clean baking sheet lined with parchment paper or a non-stick mat. Allow them to air dry at room temperature for another 12-24 hours to ensure they are completely dry and crisp. This step is crucial for achieving that characteristic crunch and preventing clumping.
For a more detailed oven recipe and helpful visual cues, consider exploring Homemade Flaky Salt: Easy Oven Recipe for Perfect Finishing Flakes.
Tips for Flawless Flakes & Flavor Customization
Achieving the Perfect Texture
- Consistency is Key: Maintain a low, consistent oven temperature. Fluctuations can disrupt crystal formation.
- Shallow Pan, Big Impact: Don't underestimate the importance of a shallow pan. More surface area means faster and more uniform crystal growth.
- Resist the Rush: Patience truly is a virtue here. Rushing the process with higher heat will yield smaller, denser crystals, not the delicate flakes you're after.
- Brine Purity: Using filtered water and good quality salt reduces the chance of unwanted impurities interfering with crystallization.
Flavor Infusions
Once you've mastered the basic technique of how to make flaky salt, you can get creative with infusions. This allows you to craft unique finishing salts tailored to specific dishes.
- Herb-Infused: Add fresh rosemary sprigs, thyme, or bay leaves to your brine solution while it's gently heating.
- Spice Blends: Infuse with whole spices like peppercorns, star anise, or dried chili flakes. For a more subtle flavor, you can also mix finely ground spices (garlic powder, smoked paprika) with your dried flakes after harvesting.
- Citrus Zest: Add strips of lemon or orange zest to the brine for a bright, aromatic salt.
- Earthy Notes: Experiment with dehydrated mushroom powder, finely ground black tea, or even beet powder for a vibrant color and earthy flavor.
For infusions, you can either add the flavoring agents directly to the brine during the initial heating phase, allowing their flavors to meld into the salt, or, for more volatile flavors like citrus zest, mix them in with the fully dried salt flakes for a fresher aroma.
Storage
Once your flaky salt is completely dry and crisp, store it in an airtight container in a cool, dry place. Proper storage will preserve its delicate texture and prevent it from clumping due to moisture absorption.
Crafting your own flaky salt at home is a rewarding culinary endeavor that brings a touch of gourmet sophistication to your everyday cooking. With a little patience, the right tools, and the simple oven method, you can consistently produce beautiful, crunchy salt flakes that rival expensive artisanal brands. Experiment with flavors, savor the process, and elevate your dishes with this delightful homemade seasoning. The journey of making your own flaky salt is not just about the end product, but also about appreciating the simple magic of transformation in your very own kitchen.
