The Secret to Perfect Flaky Salt: Oven Method & Brine Basics
For anyone who appreciates a delightful textural contrast and a burst of concentrated flavor in their dishes, flaky salt is an indispensable culinary ally. Unlike the fine, uniform grains of table salt, flaky salt – often recognized by names like fleur de sel or Maldon salt – boasts delicate, pyramid-shaped crystals that shatter with a satisfying crunch. It's the perfect finishing touch for everything from roasted vegetables and perfectly seared steaks to decadent chocolate desserts. You might assume such a gourmet ingredient is a luxury item reserved for high-end restaurants, but the truth is, learning
how to make flaky salt at home is surprisingly accessible. This comprehensive guide will unveil the secrets behind crafting your own beautiful, crunchy flakes using the reliable oven method, starting with the fundamental brine basics.
Understanding Flaky Salt: A Culinary Gem
The allure of flaky salt isn't a modern phenomenon; its production dates back to ancient times, initially revered as a luxury item enjoyed by the wealthy. Historically, it was harvested from shallow evaporation ponds, relying on the sun and wind to coax the delicate crystals to the surface. Today, its wide availability hasn't diminished its prestige among home cooks and professional chefs alike.
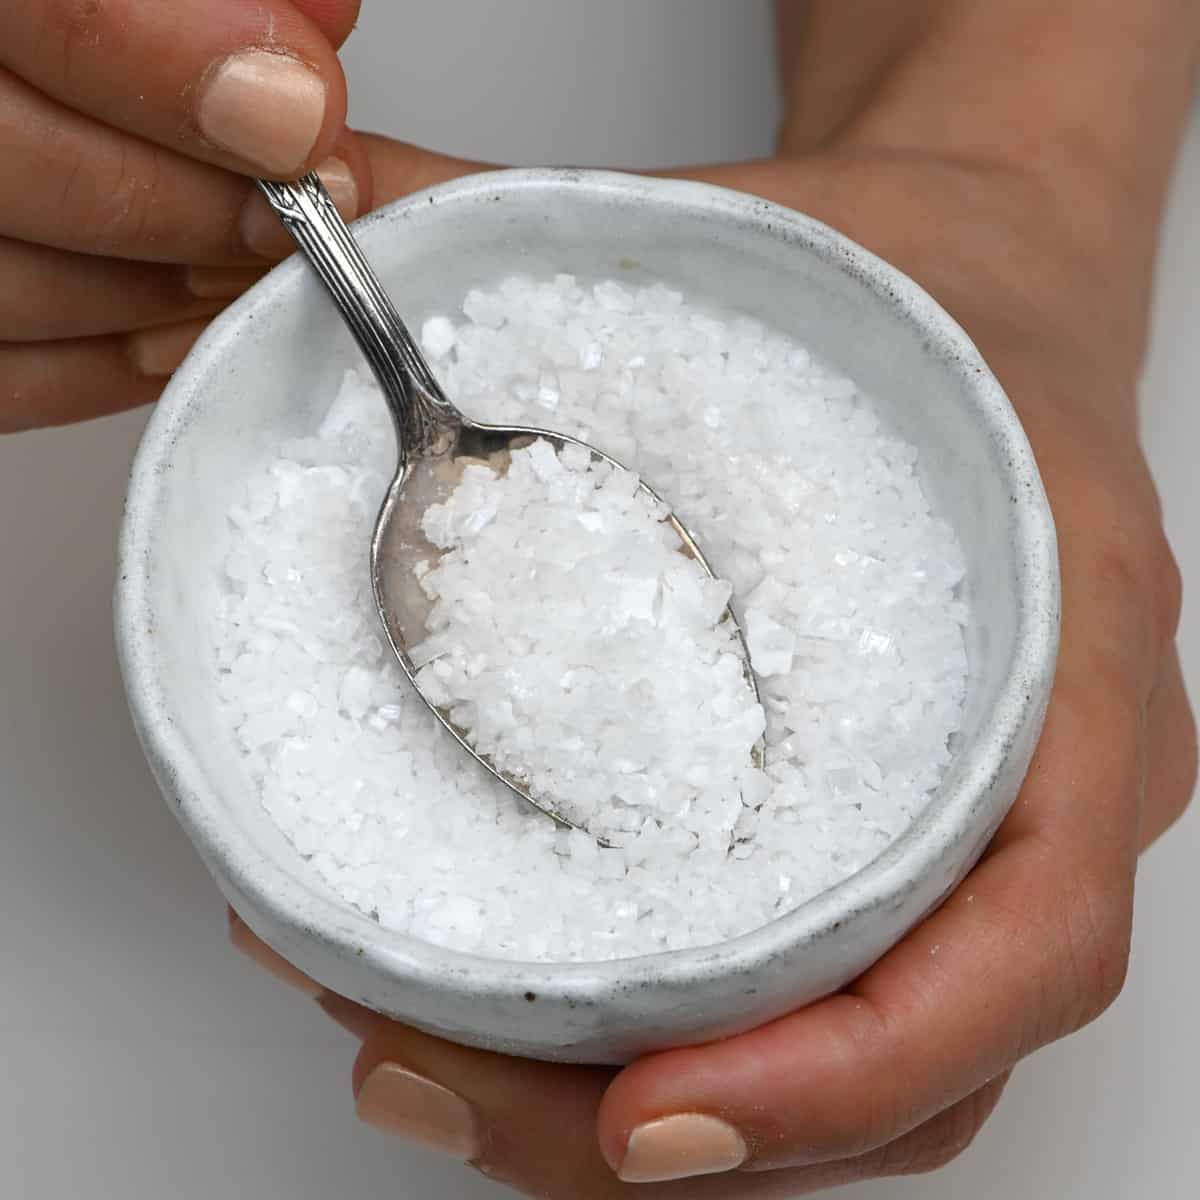
What makes flaky salt so special? It boils down to its unique structure. Regular table salt consists of small, dense cubes, delivering a sharp, intense saltiness that dissolves quickly. Flaky salt, however, forms larger, irregular crystals with a greater surface area. This means it provides:
*
A Gentle Salinity: The flavor isn't harsh but rather a nuanced burst that enhances, rather than overwhelms.
*
An Irresistible Crunch: Its signature texture adds an extra dimension to any dish, providing a delightful sensory experience.
*
Visual Appeal: The shimmering, delicate flakes are simply beautiful, elevating the presentation of your food.
It’s this combination of subtle flavor, satisfying texture, and visual elegance that makes flaky salt the preferred finishing salt for countless culinary applications.
The Science Behind the Flakes: Evaporation & Crystallization
At its core, making flaky salt is a controlled exercise in crystal formation. The process begins with a brine solution – concentrated saltwater – which is then subjected to slow, consistent evaporation. As the water slowly disappears, the salt concentration in the remaining liquid increases until it reaches a saturation point where the salt can no longer remain dissolved. At this critical juncture, salt molecules begin to link together, forming crystals.
The key to achieving *flaky* crystals, as opposed to dense cubes, lies in the *rate* of evaporation and the environment. A controlled, gentle heat encourages the salt to crystallize slowly on the surface of the brine. Instead of sinking, these nascent crystals float, growing outward and upward into delicate, often pyramidal shapes. Humidity, ambient temperature, and even gentle disturbance of the brine surface all play roles in influencing the final shape and size of the flakes. The slower the evaporation, the larger and more delicate the flakes tend to be. This precise balance is what we aim to replicate in our home kitchens.
Brine Basics: Your Foundation for Flaky Salt
The journey to perfect flaky salt begins with crafting the ideal brine solution. This isn't just salty water; it's the very foundation upon which your delicate crystals will form.
Choosing Your Brine Type
There are several routes you can take to create your brine, each with its own benefits:
*
Seawater Brine: The most traditional and authentic method. If you have access to clean, unpolluted seawater, this is an excellent option for a truly natural product.
*
Salt Brine: This is the most practical choice for most home cooks. It involves dissolving high-quality salt in fresh water. The quality of your starting salt directly impacts the purity and flavor of your final flaky salt, so opt for unrefined sea salt or kosher salt without anti-caking agents or iodine. Avoid iodized table salt, which can impart an off-flavor and hinder crystal formation.
*
Flavor-Infused Brine: This is where creativity truly shines! You can infuse your brine with various aromatics to create unique flavor profiles for your finishing salt. Imagine garlic-rosemary flakes for roasted potatoes, citrus-chili flakes for seafood, or even vanilla bean flakes for desserts. Simply add herbs, spices, citrus zest, or other desired flavorings to your water *before* dissolving the salt, allowing them to steep and impart their essence.
The Perfect Ratio and Preparation
For a robust salt brine, a common starting ratio is
1 part salt to 2 parts water by volume. For example, if you use 1 cup of high-quality sea salt, you would mix it with 2 cups of filtered water. This creates a sufficiently concentrated solution without being oversaturated too quickly.
To prepare your brine:
1. Combine your chosen salt and water in a saucepan. If making a flavor-infused brine, add your aromatics to the water first and bring it to a gentle simmer for 10-15 minutes to extract flavor, then strain before adding salt.
2. Heat the solution gently to around 180°F (82°C). This warmth helps the salt dissolve completely and kickstarts the process of crystal formation. Avoid a rolling boil, as this can lead to impurities separating and uneven dissolution.
3. Stir frequently until all the salt is fully dissolved. You should have a clear, highly concentrated saltwater solution.
The Oven Method: Achieving Perfect Flakes at Home
While traditional methods often rely on open-air evaporation, using an oven offers a consistent, controlled environment ideal for home cooks. It allows for slow, steady evaporation crucial for forming delicate flakes. To dive deeper into a specific step-by-step guide, consider reading our article on
Homemade Flaky Salt: Easy Oven Recipe for Perfect Finishing Flakes.
Essential Equipment:
*
Shallow, Oven-Safe Pan: This is critical. A wider surface area allows for maximum evaporation. Baking sheets, ceramic casserole dishes, or even glass pie plates work well. Ensure it's not too deep; about 1-2 inches of brine is ideal.
*
Oven: Capable of maintaining a very low temperature.
*
Spatula or Spoon: For gentle stirring and harvesting.
Step-by-Step Oven Process:
1.
Prepare and Pour the Brine: Once your brine solution is heated and all salt is dissolved, carefully pour it into your shallow, oven-safe pan. Ensure the depth is consistent across the pan.
2.
Set Your Oven: Preheat your oven to its absolute lowest setting. This is often between 150°F and 200°F (65°C-93°C). Some ovens have a "warm" setting which can also work. The goal is *gentle* heat for slow evaporation, not baking. You want the water to evaporate, not boil away rapidly.
3.
Begin Evaporation: Carefully place the pan of brine into the preheated oven. Some home cooks even suggest leaving the oven door slightly ajar to allow for better humidity release, but monitor this carefully to maintain a consistent low temperature.
4.
Monitor and Stir: This is where patience comes in. Over several hours (or even a day, depending on your oven and brine concentration), you will start to see salt crystals forming on the surface.
*
Gentle Stirring: Every few hours, gently stir the brine with a clean spoon or spatula. This prevents the crystals from clumping together into large, solid masses and encourages them to break apart into distinct flakes. This is a crucial step for achieving that signature flaky texture.
*
Skimming Impurities: If any impurities or cloudy residue form on the surface, gently skim them off. This ensures a clean, pure final product.
5.
Harvesting: As the water continues to evaporate, more and more salt flakes will form. Once the majority of the water has evaporated and you have a good layer of dry, flaky salt, gently scrape the flakes from the bottom and sides of the pan. They should be relatively dry and separate easily. You can also allow the entire batch to dry out completely in the oven before scraping. For more advanced techniques on achieving that perfect crunch, you might find our article
Unlock Crispy Texture: Crafting Flaky Salt at Home with an Oven particularly helpful.
6.
Final Drying (Optional): If your harvested flakes still feel slightly damp, spread them out on a clean baking sheet lined with parchment paper and allow them to air dry at room temperature for another few hours, or place them back in a *turned-off* oven with residual heat until completely dry.
Tips for Perfect Flaky Salt
*
Patience is Paramount: Rushing the process will lead to smaller, denser crystals. Slow and steady wins the flaky race.
*
Consistent Low Heat: Avoid temperature fluctuations as much as possible.
*
Start with Quality: High-quality salt and filtered water will yield the best results.
*
Experiment with Brine Concentration: While 1:2 is a good starting point, some prefer slightly higher or lower concentrations to influence flake size.
*
Storage: Once completely dry, store your homemade flaky salt in an airtight container in a cool, dry place. Humidity is the enemy of crisp flakes!
Elevate Your Culinary Creations
Once you've mastered the art of making your own flaky salt, you'll find endless opportunities to use it. Sprinkle it over freshly baked bread with olive oil, finish a simple fried egg, add a sophisticated touch to grilled meats, or even use a pinch to balance the sweetness in chocolate chip cookies or brownies. The satisfaction of knowing you've created such a versatile and gourmet ingredient from scratch adds an extra layer of enjoyment to every meal.
Conclusion
Making flaky salt at home is a rewarding culinary endeavor that brings a touch of artisanal craftsmanship to your kitchen. While it requires patience and attention to detail, the oven method provides a reliable and accessible way to produce beautiful, crunchy flakes. By understanding the basics of brine preparation and embracing the slow, steady process of evaporation, you unlock the secret to creating your own gourmet finishing salt. So, gather your ingredients, set aside some time, and embark on this delightful journey – your taste buds, and your cooking, will thank you.